It is possible to import the finite element mesh of the cast billet, temperature distribution and porosity from the ProCast and MAGMA into the QForm UK.
To save the calculation mesh in a separate file, you need to hide all unnecessary model elements and disable the display of results. To do this, select Categories - None, Results-None in the field Contour Panel (otherwise the export of calculated results will be performed). Open the menu File-Export and save the mesh model in the Patran (.ntl) or I-Deas (.unv) format.
Select the required parameter in VisualViewer and hide all unnecessary elements of the model to save the simulation results. Open the File-Export menu tab, choose to save data from a specific step (Specify Steps) and set the number of the required calculation step by pressing the button
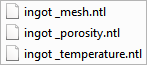
Note: only the last calculated step is available for saving the results of porosity, therefore, all functions in the tabOptionswill be unavailable. After preparing the data for import into QForm UK, the billet geometry file must be prepared. If necessary, files with temperature and porosity fields might be prepared too.
|
||||||||||||||


| Import data toQForm UK |
Prepared files in *.ntl or *.unv format are available for import into a QForm project. First, the billet geometry must be loaded. Load the mesh model of the billet with the help of command Load from file in the tab Geometry. After converting the object into a workpiece, the geometry will be displayed on the screen. If necessary, the units of measure can be changed in Properties after loading the geometry.
To import the temperature fields, click on Import fields and select a file in the format *.ntl or *.unv with temperature simulation results. The porosity field is loaded in the same way. The Imported fields are displayed in a list below the workpiece.
The imported fields are available in Field selection bar. Porosity field is automatically converted to a relative density field in QForm UK. Relative density is the same porosity field, but distributed not from 0 to 100%, but from 0 to 1. The figures below show the loaded temperature (left) and porosity (right) fields.
The command Delete, as well as the command Convert, which allows you to convert the selected imported field to the desired one, are available for loaded fields.
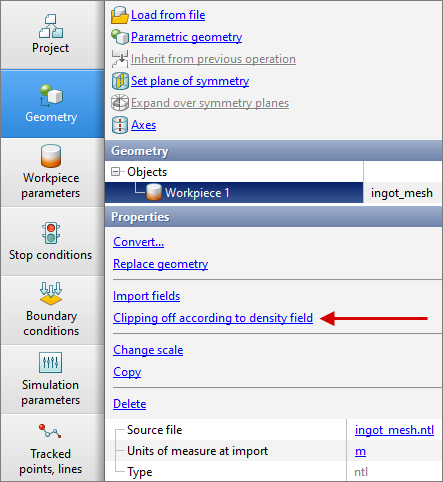
The command Clipping off according to density field allows us to set the minimum value of the relative density field. This will remove regions of the geometry where the relative density field values are lower than the specified values.
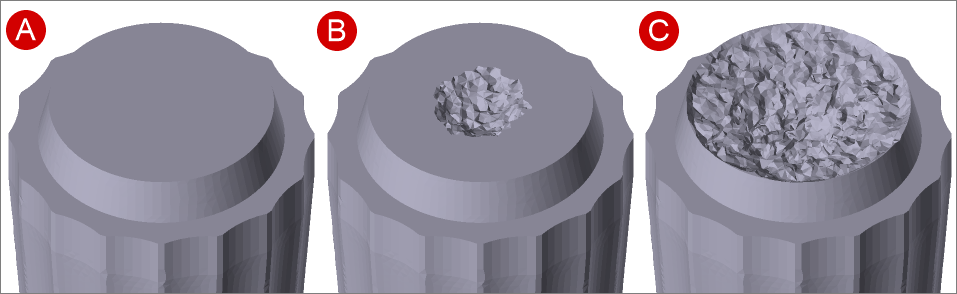
The figure below shows the initial geometry of the billet and the geometry after clipping.
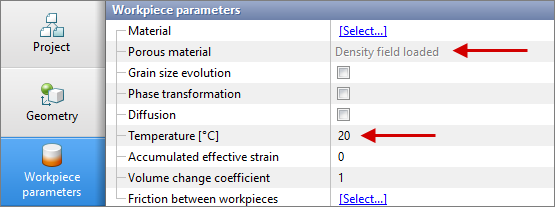
Density field loaded will be displayed opposite the column Porous material in the tab Workpiece parameters after importing the porosity field. Use the default value of temperature in the column Temperature in case of loading the temperature field.
The further procedure for specifying the initial data for creating a simulation in QForm UK does not differ from standard simulation examples. |
||||||